Build a personal image hosting platform with Lychee
Many people, including me, use self-hosted image hosting services for their convenience, ease of sharing, storage capabilities. Lychee is a great looking and easy-to-use photo-management-system you can run on your server, to manage and share photos. This article provides a step-by-step guide on building an image hosting service with Lychee using Docker.
Deployment
Install and run Lychee in docker container
Install docker and docker compose if they haven't been installed yet.
curl -sSL https://get.docker.com/ | sh
systemctl enable --now docker
Create Lychee directory and docker-compose.yml. This article use /opt/lychee as the example address.
mkdir /opt/lychee && cd /opt/lychee
vim docker-compose.yml
Edit docker-compose.yml. Lychee has four image tags, and I use dev tag here. Because Lychee operates on a stable master, this should usually be safe.
version: '3.8'

services:
  lychee:
    container_name: lychee
    image: lycheeorg/lychee:dev
    ports:
      - "127.0.0.1:12345:80"
    volumes:
      - /opt/lychee/conf:/conf
      - /opt/lychee/uploads:/uploads
      - /opt/lychee/sym:/sym
    restart: unless-stopped
The above configuration uses SQLite as the database since SQLite is sufficient for personal users, and it is no external dependencies are required. To use this image with MySQL, MariaDB, or PostgreSQL as the database, see Lychee's doc.
Start service.
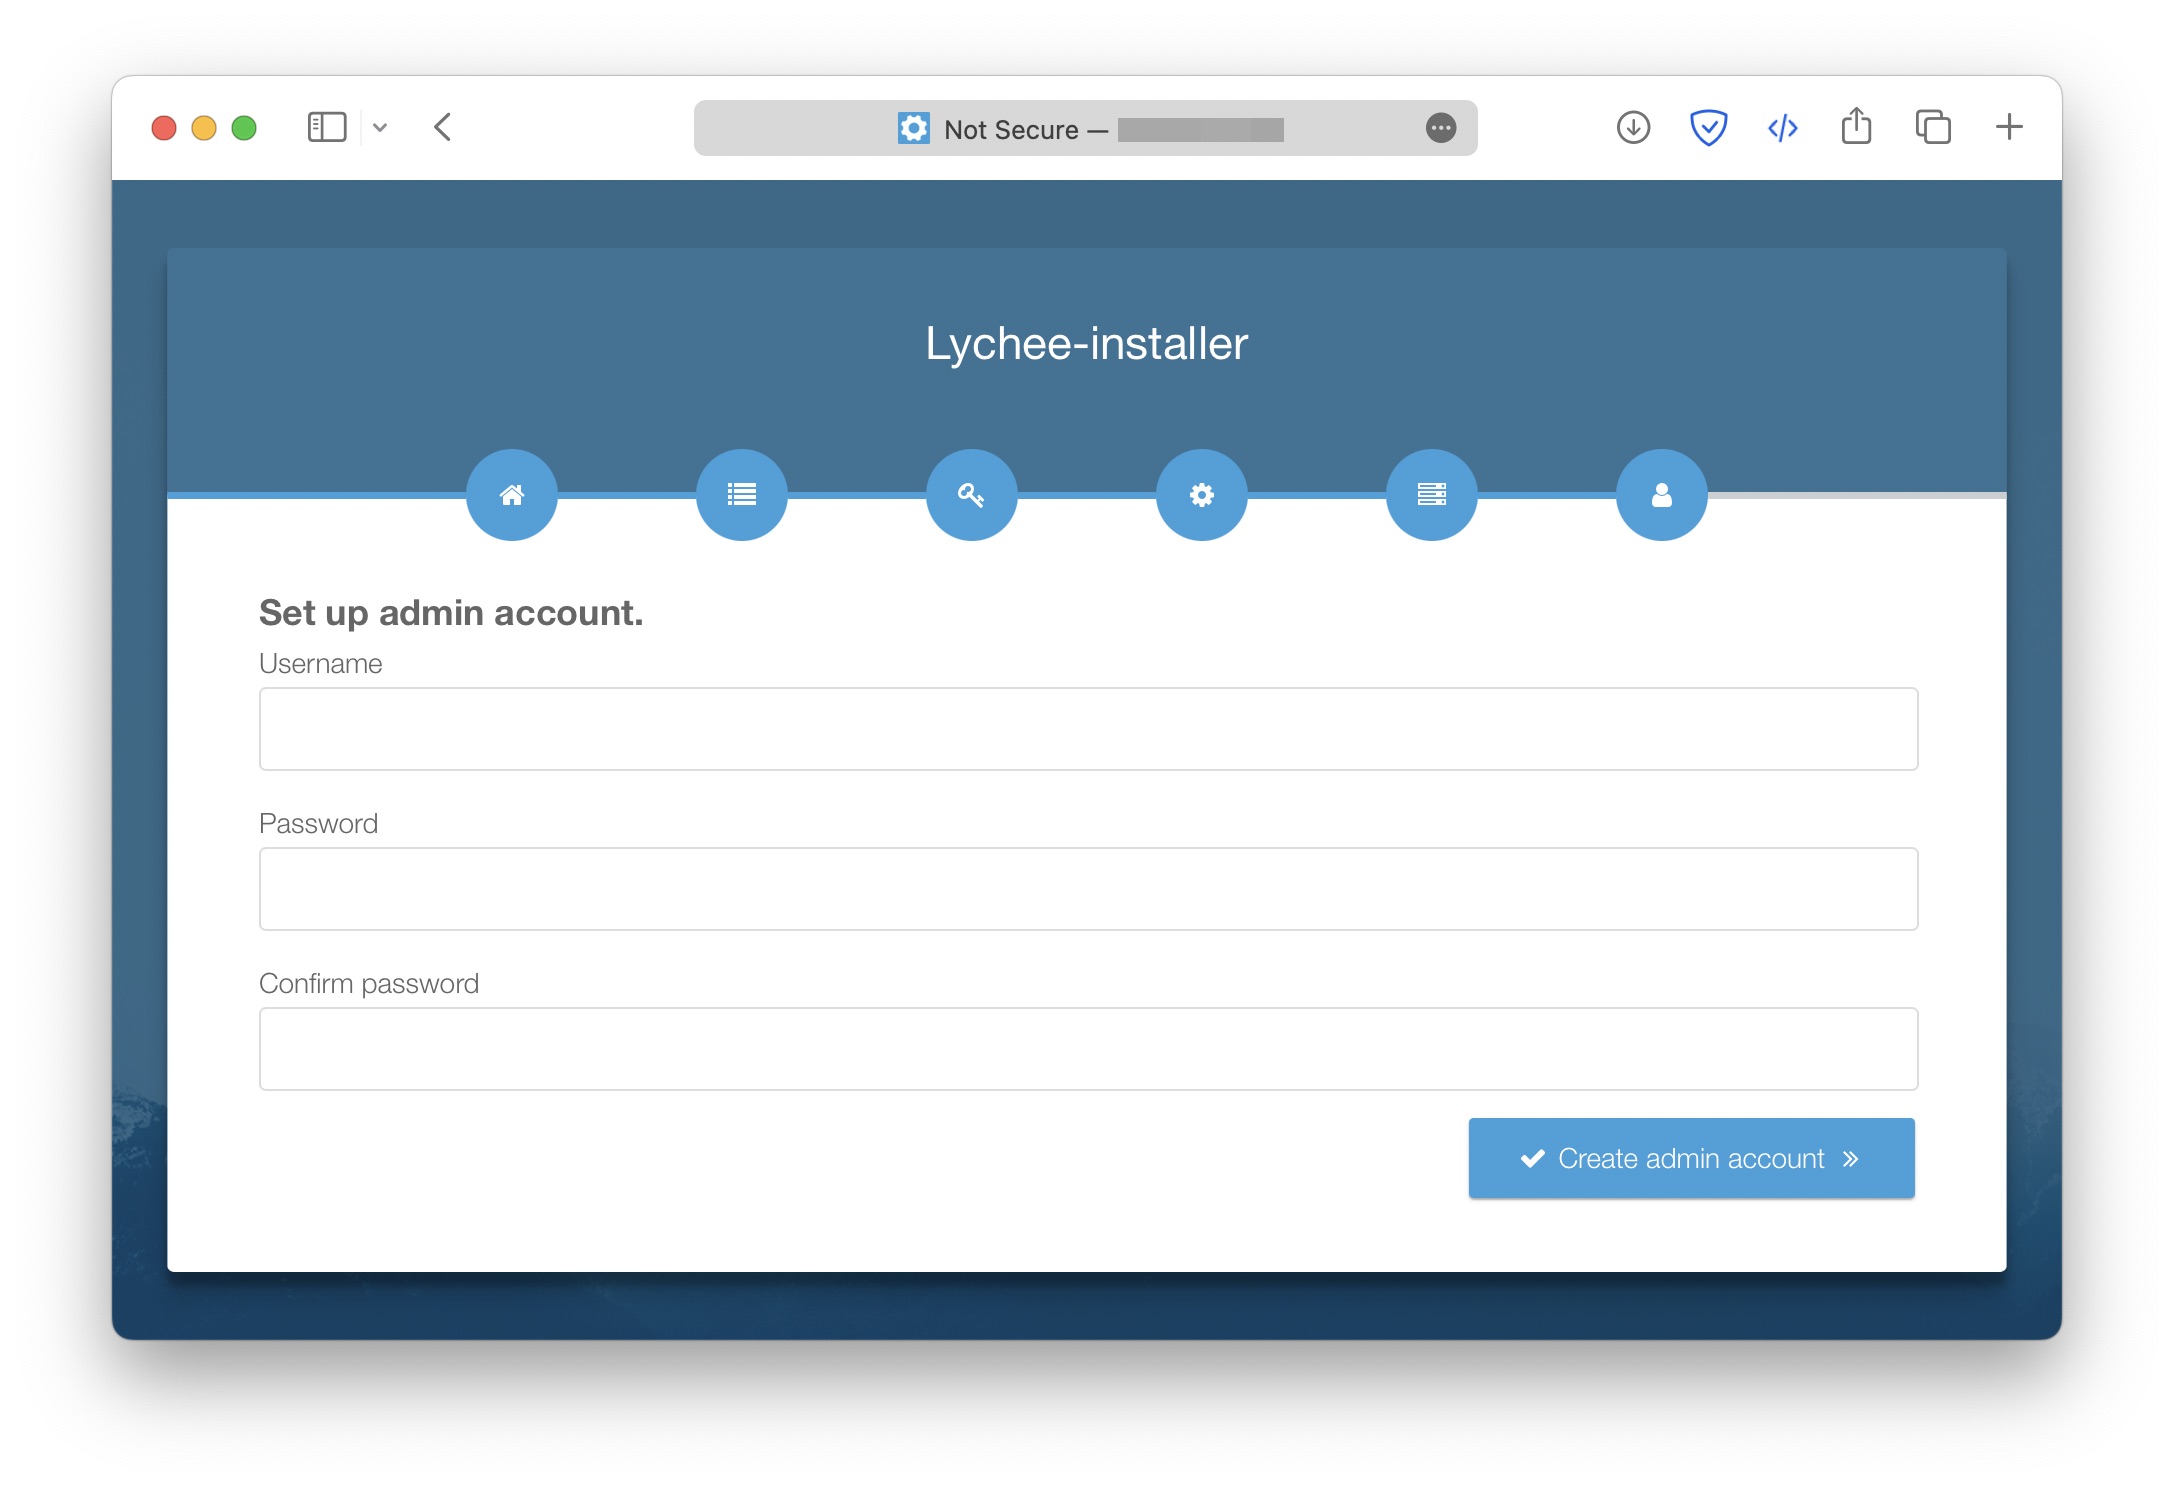
docker compose up -dAccess your IP:PORT to create an admin account. Make sure the port is open.
Configure nginx
After confirming that everything is correct, add a nginx configuration for Lychee as follows. If you don't have a domain certificate yet, see here and here. The domain name, path of ssl certificate files, and port should be changed to yours.
server {
    listen 443 ssl http2;
    server_name pic.domain.com;

    ssl_certificate     /PATH/server.crt;
    ssl_certificate_key /PATH/server.key;
    ssl_protocols       TLSv1 TLSv1.1 TLSv1.2 TLSv1.3;
    ssl_ciphers         ECDHE-RSA-AES128-GCM-SHA256:HIGH:!aNULL:!MD5:!RC4:!DHE;
    ssl_prefer_server_ciphers on;
    ssl_session_cache   shared:SSL:10m;
    ssl_session_timeout 10m;

    location /
    {
        proxy_pass          http://127.0.0.1:12345;
        proxy_set_header    Host $host;
        proxy_set_header    X-Real-IP $remote_addr;
        proxy_set_header    X-Forwarded-For $proxy_add_x_forwarded_for;
        proxy_set_header    X-Forwarded-Proto $scheme;
        client_max_body_size 50m;
    }
}

server {
    listen      80;
    server_name pic.domain.com;
    return      301 https://$host$request_uri;
}
Then reload new configuration file.
nginx -s reloadVisit pic.domain.com.

Looks like it's working perfectly.
Now the image can be loaded by its link, as follows.
<p style="text-align: center;">
<img src="https://pic.knownoknow.net/uploads/original/8d/ed/dd5b421ff0ffea22eb100198dab8.gif" >
</p>
