Build a mail server with docker-mailserver
docker-mailserver is a production-ready fullstack but simple mail server that runs inside a container. Building a mail server is quite complicated, and for a beginner, it may be unclear how to start. In this article, I will share my experience of building my own mail server from scratch and provide some explanations of the parameters used.
Preparation
Add DNS records
You will need a server and a domain name pointing to this server's IP. In this article, the server's IP is 1.2.3.4 and the domain name is domain.com. They should be changed based on your case.
DNS records regarding SPF, DKIM, and DMARC need to be added first, and they can be edited through the control panel provided by the domain registrar or hosting provider. DMARC, DKIM, and SPF are three email authentication methods, below is a brief description of them [1].
SPF (Sender Policy Framework) allows domain owners to specify which IP addresses and mail servers are authorized to send email messages on behalf of their domain.
DKIM (DomainKeys Identified Mail) allows a domain owner to digitally sign their outgoing email messages. The receiving mail server can then verify the signature to ensure that the message has not been tampered with and that it was indeed sent by the domain owner.
DMARC (Domain-based Message Authentication, Reporting & Conformance) instructs mail servers on how to handle emails that fail DKIM or SPF checks, including options such as marking those emails as spam, delivering them despite the failures, or rejecting them entirely.
SPF and DMARC are configured first, the DKIM record will be added in the next section.
| # | Type | Name | Content |
|---|---|---|---|
| 1 | A | mail.domain.com | 1.2.3.4 |
| 2 | MX | domain.com | mail.domain.com |
| 3 | TXT | domain.com | v=spf1 mx ~all |
| 4 | TXT | _dmarc.domain.com | v=DMARC1; p=quarantine; sp=quarantine; rua=mailto:[email protected]; ruf=mailto:[email protected]; pct=100; adkim=r; aspf=r; fo=0 |
Record 1: This record links domain name mail.domain.com to IP address 1.2.3.4.
Record 2: A DNS 'Mail Exchange' (MX) record directs email to a mail server. In this article, the mail server is mail.domain.com. The priority can be set arbitrarily (e.g., 10) if you have only one MX record.
Record 3: This record adds an SPF record that is used to prevent email spam and fraud. An SPF record of v=spf1 mx ~all tells receiving mail servers that email can only be sent from the mail servers listed in the domain's MX records (mail.domain.com in this article), and other servers should be treated with caution [2].
Record 4: This is a DMARC record that provides instructions on how email messages should be handled if they fail DKIM or SPF checks. An explanation of the various components of DMARC record is shown as follows [3].
v=DMARC1specifies DMARC version.p=quarantinetreats mail that fails DMARC check as suspicious and quarantined for further review (e.g., move into junk).sp=quarantinesets the DMARC policy for subdomains to "quarantine" as well.rua=mailto:[email protected]andruf=mailto:[email protected]specify the email address to which aggregate and forensic reports should be sent if an email fails DMARC checks. Change[email protected]to the email that receives the reports. These options can potentially result in a high volume of report emails. It is not recommend using your own email address.pct=100sets the percentage of messages that should be subjected to DMARC checks.100means all messages will be checked.adkim=randaspf=rspecify how strict the result of DKIM and SPF alignment checks should be interpreted. Strict (s) or relaxed (r).fo=0generates a report if both SPF and DKIM tests fail.
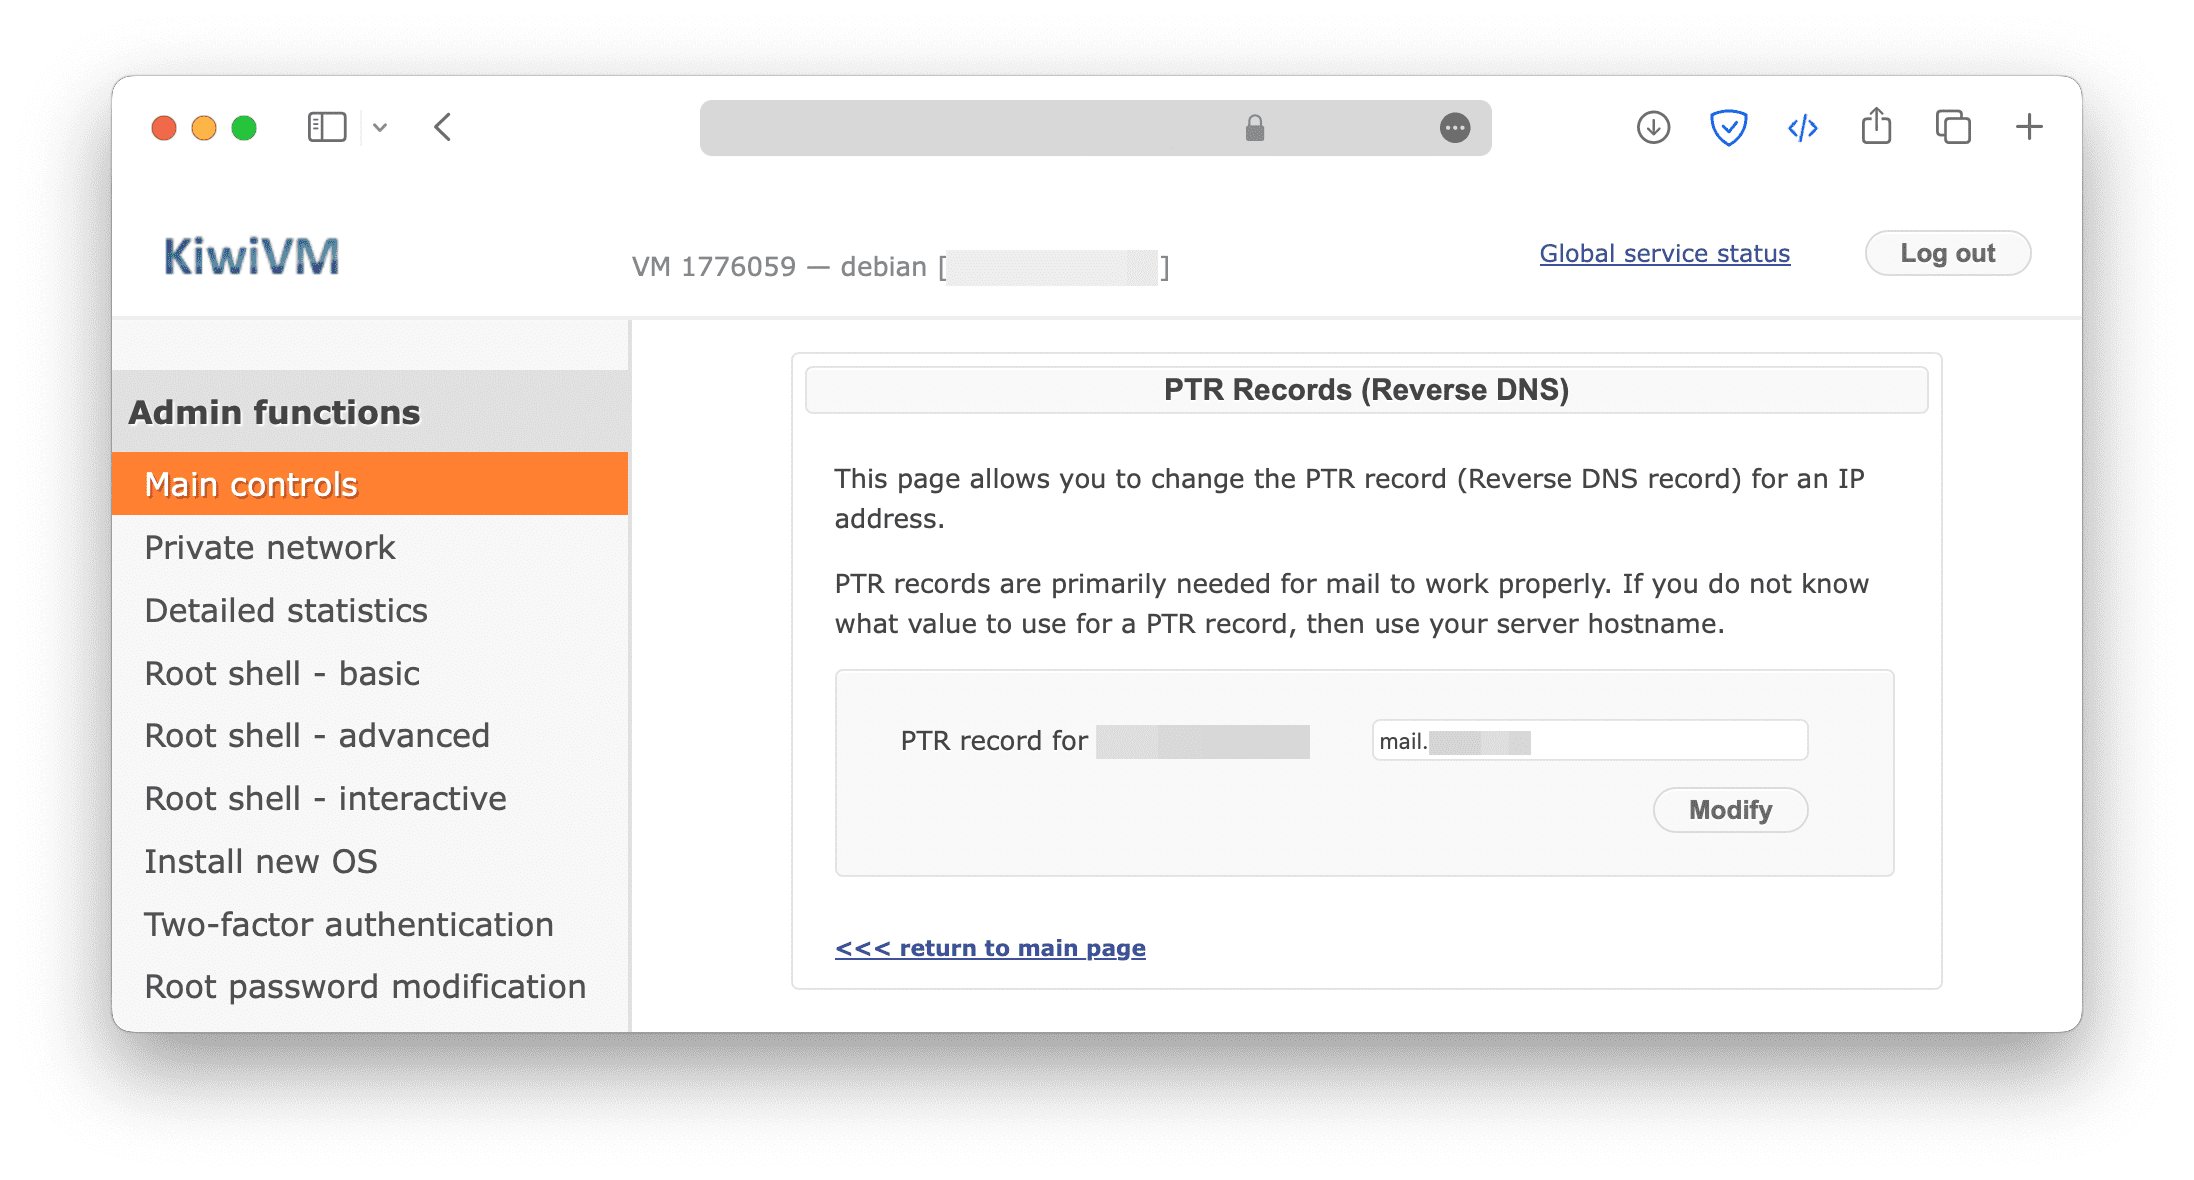
Add RDNS record
RDNS (Reverse DNS) is the process of determining a domain name associated with a given IP address. Some companies, such as AOL, will reject messages sent from a server without rDNS, so it is essential to ensure that you have one.
In general, the RDNS record can be modified in the dashboard of the server provider. Here's an example of BandwagonHost.
Configure docker-mailserver
Install docker and docker compose.
curl -sSL https://get.docker.com/ | sh
systemctl enable --now docker
Download configuration files.
mkdir mailserver && cd mailserver
DMS_GITHUB_URL='https://raw.githubusercontent.com/docker-mailserver/docker-mailserver/master'
wget "${DMS_GITHUB_URL}/docker-compose.yml"
wget "${DMS_GITHUB_URL}/mailserver.env"
wget "${DMS_GITHUB_URL}/setup.sh"
chmod a+x ./setup.sh
Then, edit docker-compose.yml.
version: '3.8'

services:
  mailserver:
    image: docker.io/mailserver/docker-mailserver:latest
    container_name: mailserver
    # If the FQDN for your mail-server is only two labels (eg: example.com),
    # you can assign this entirely to `hostname` and remove `domainname`.
    hostname: mail
    domainname: domain.com
    env_file: mailserver.env
    # More information about the mail-server ports:
    # https://docker-mailserver.github.io/docker-mailserver/edge/config/security/understanding-the-ports/
    # To avoid conflicts with yaml base-60 float, DO NOT remove the quotation marks.
    ports:
      - "25:25"    # SMTP  (explicit TLS => STARTTLS)
      - "143:143"  # IMAP4 (explicit TLS => STARTTLS)
      - "465:465"  # ESMTP (implicit TLS)
      - "587:587"  # ESMTP (explicit TLS => STARTTLS)
      - "993:993"  # IMAP4 (implicit TLS)
      - "110:110"
      - "995:995"
    volumes:
      - ./docker-data/dms/mail-data/:/var/mail/
      - ./docker-data/dms/mail-state/:/var/mail-state/
      - ./docker-data/dms/mail-logs/:/var/log/mail/
      - ./docker-data/dms/config/:/tmp/docker-mailserver/
      - /etc/localtime:/etc/localtime:ro
      - /tmp/ssl/:/tmp/ssl:ro
    restart: always
    stop_grace_period: 1m
    cap_add:
      - NET_ADMIN
    healthcheck:
      test: "ss --listening --tcp | grep -P 'LISTEN.+:smtp' || exit 1"
      timeout: 3s
      retries: 0
Note that hostname and domainname should be the subdomain and domain name, and the complete domain name is formed by concatenating them together.
Then edit mailserver.env. There are many environment variables for customizing the mailserver, and below are parameters that must be configured. For more description about env variables, see here. If you don't have SSL certs yet, see here or here.
[email protected]
PERMIT_DOCKER=network
SSL_TYPE=manual
SSL_CERT_PATH=/tmp/ssl/server.crt
SSL_KEY_PATH=/tmp/ssl/server.key
Add an email account [email protected] with password password.
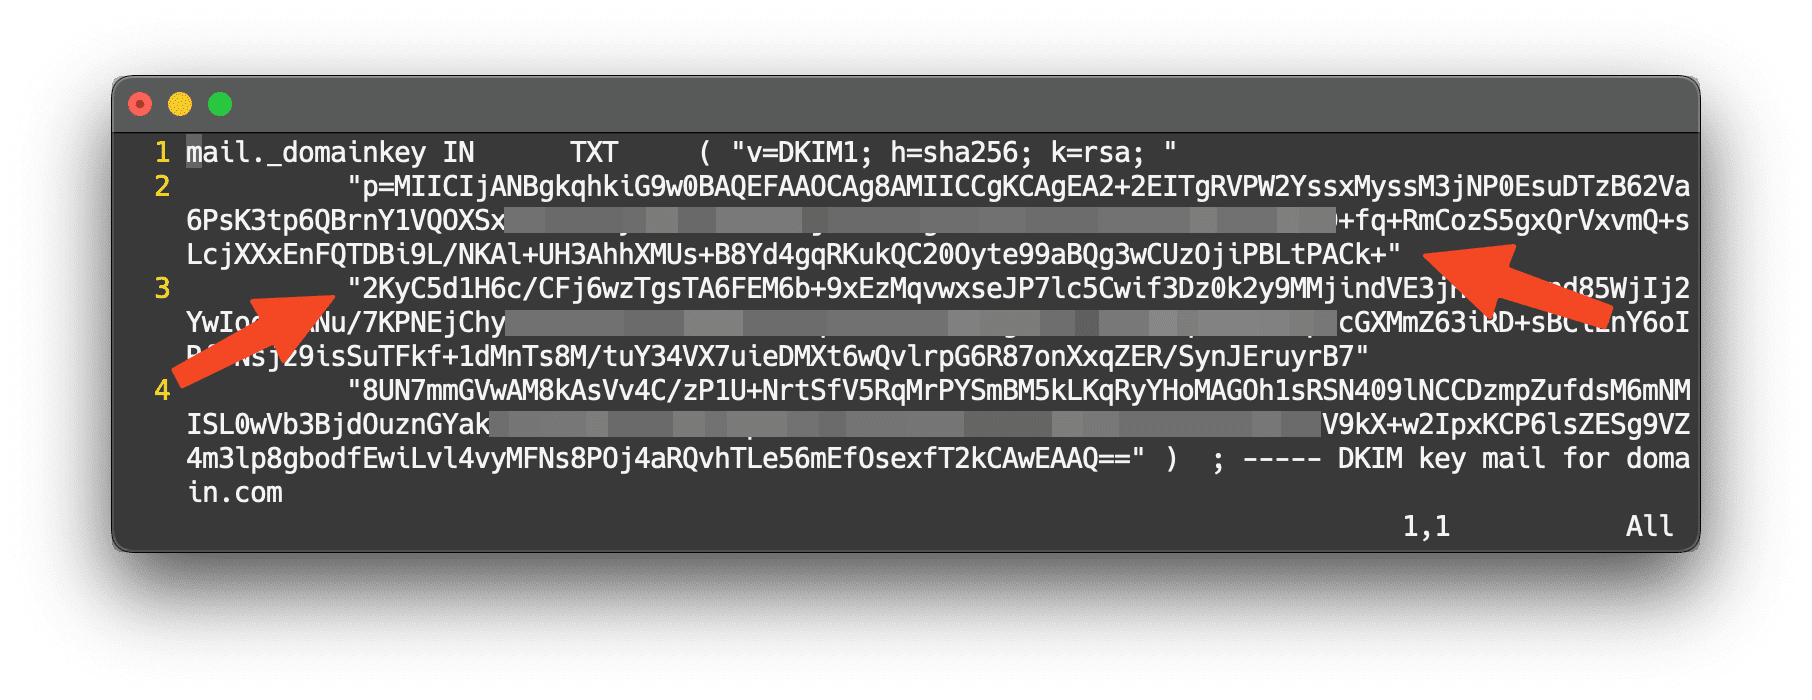
./setup.sh email add [email protected] passwordGenerate the DKIM record.
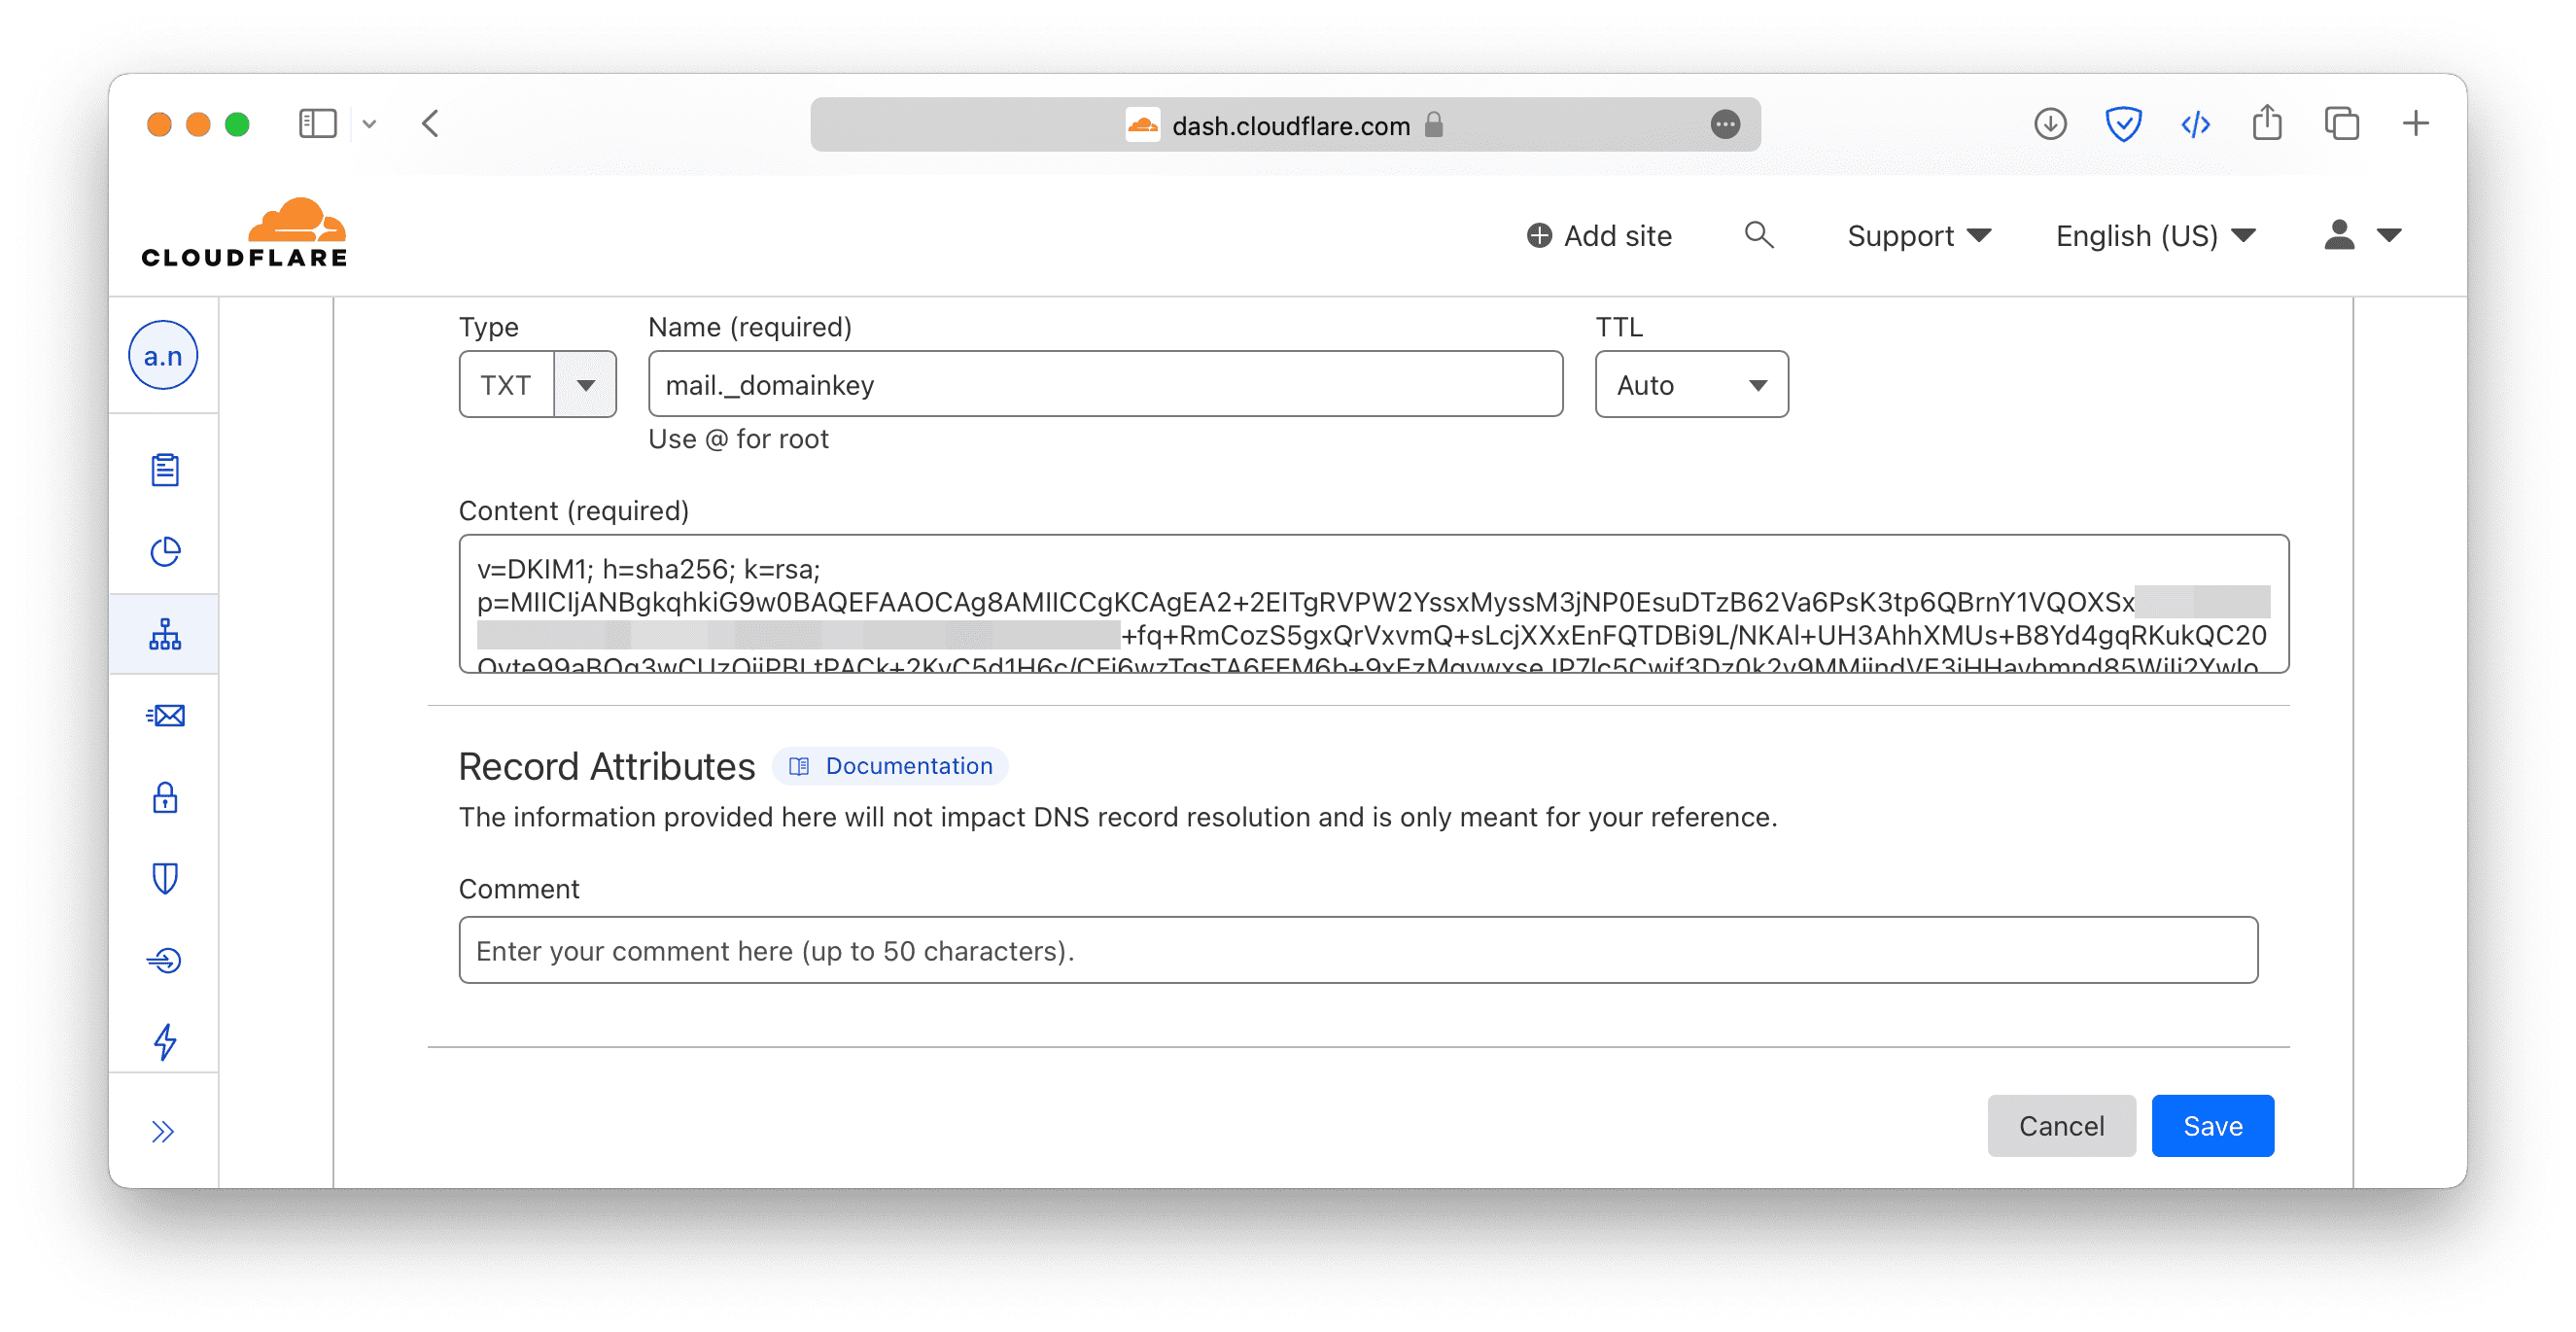
./setup.sh config dkimThen, a file named mail.txt can be found in ./docker-data/dms/config/opendkim/keys/domain.com/. Note that due to automatic line breaks, you need to concatenate them to one string.
Copy the content to the DNS record to add DKIM record, as follows.
Open ports.
ufw allow 25
ufw allow 110
ufw allow 143
ufw allow 465
ufw allow 587
ufw allow 993
ufw allow 995
Up the container.
docker compose up -d mailserverLogin the mail account
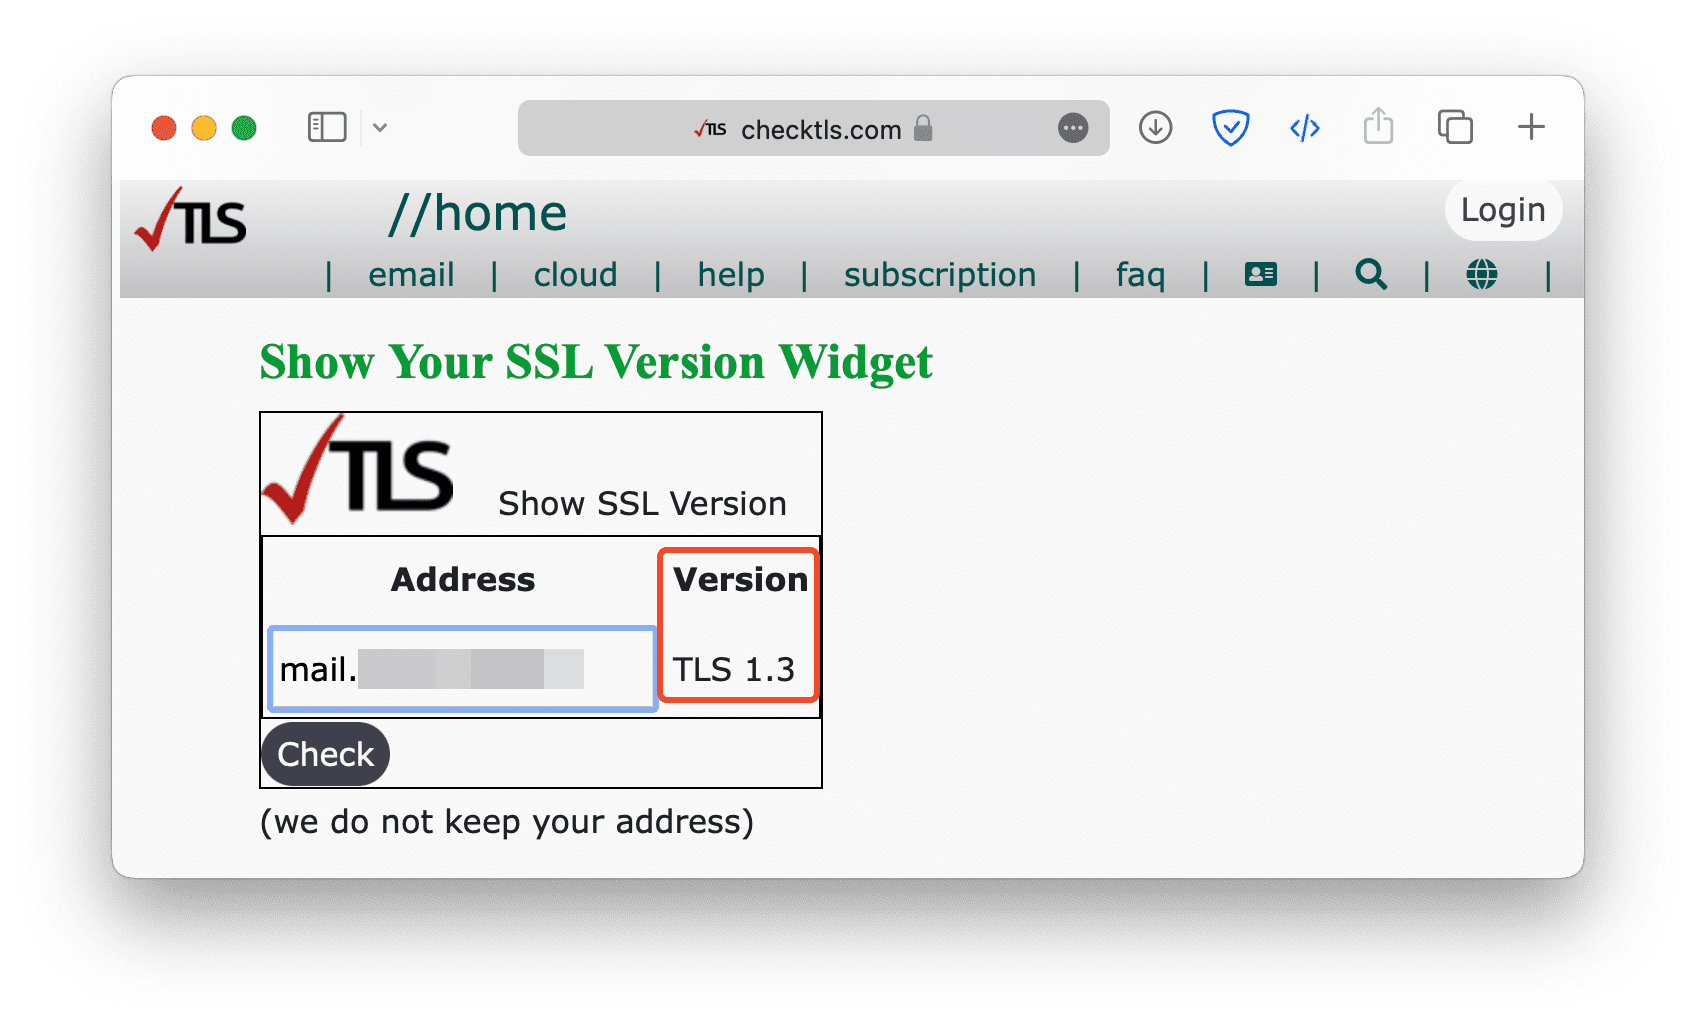
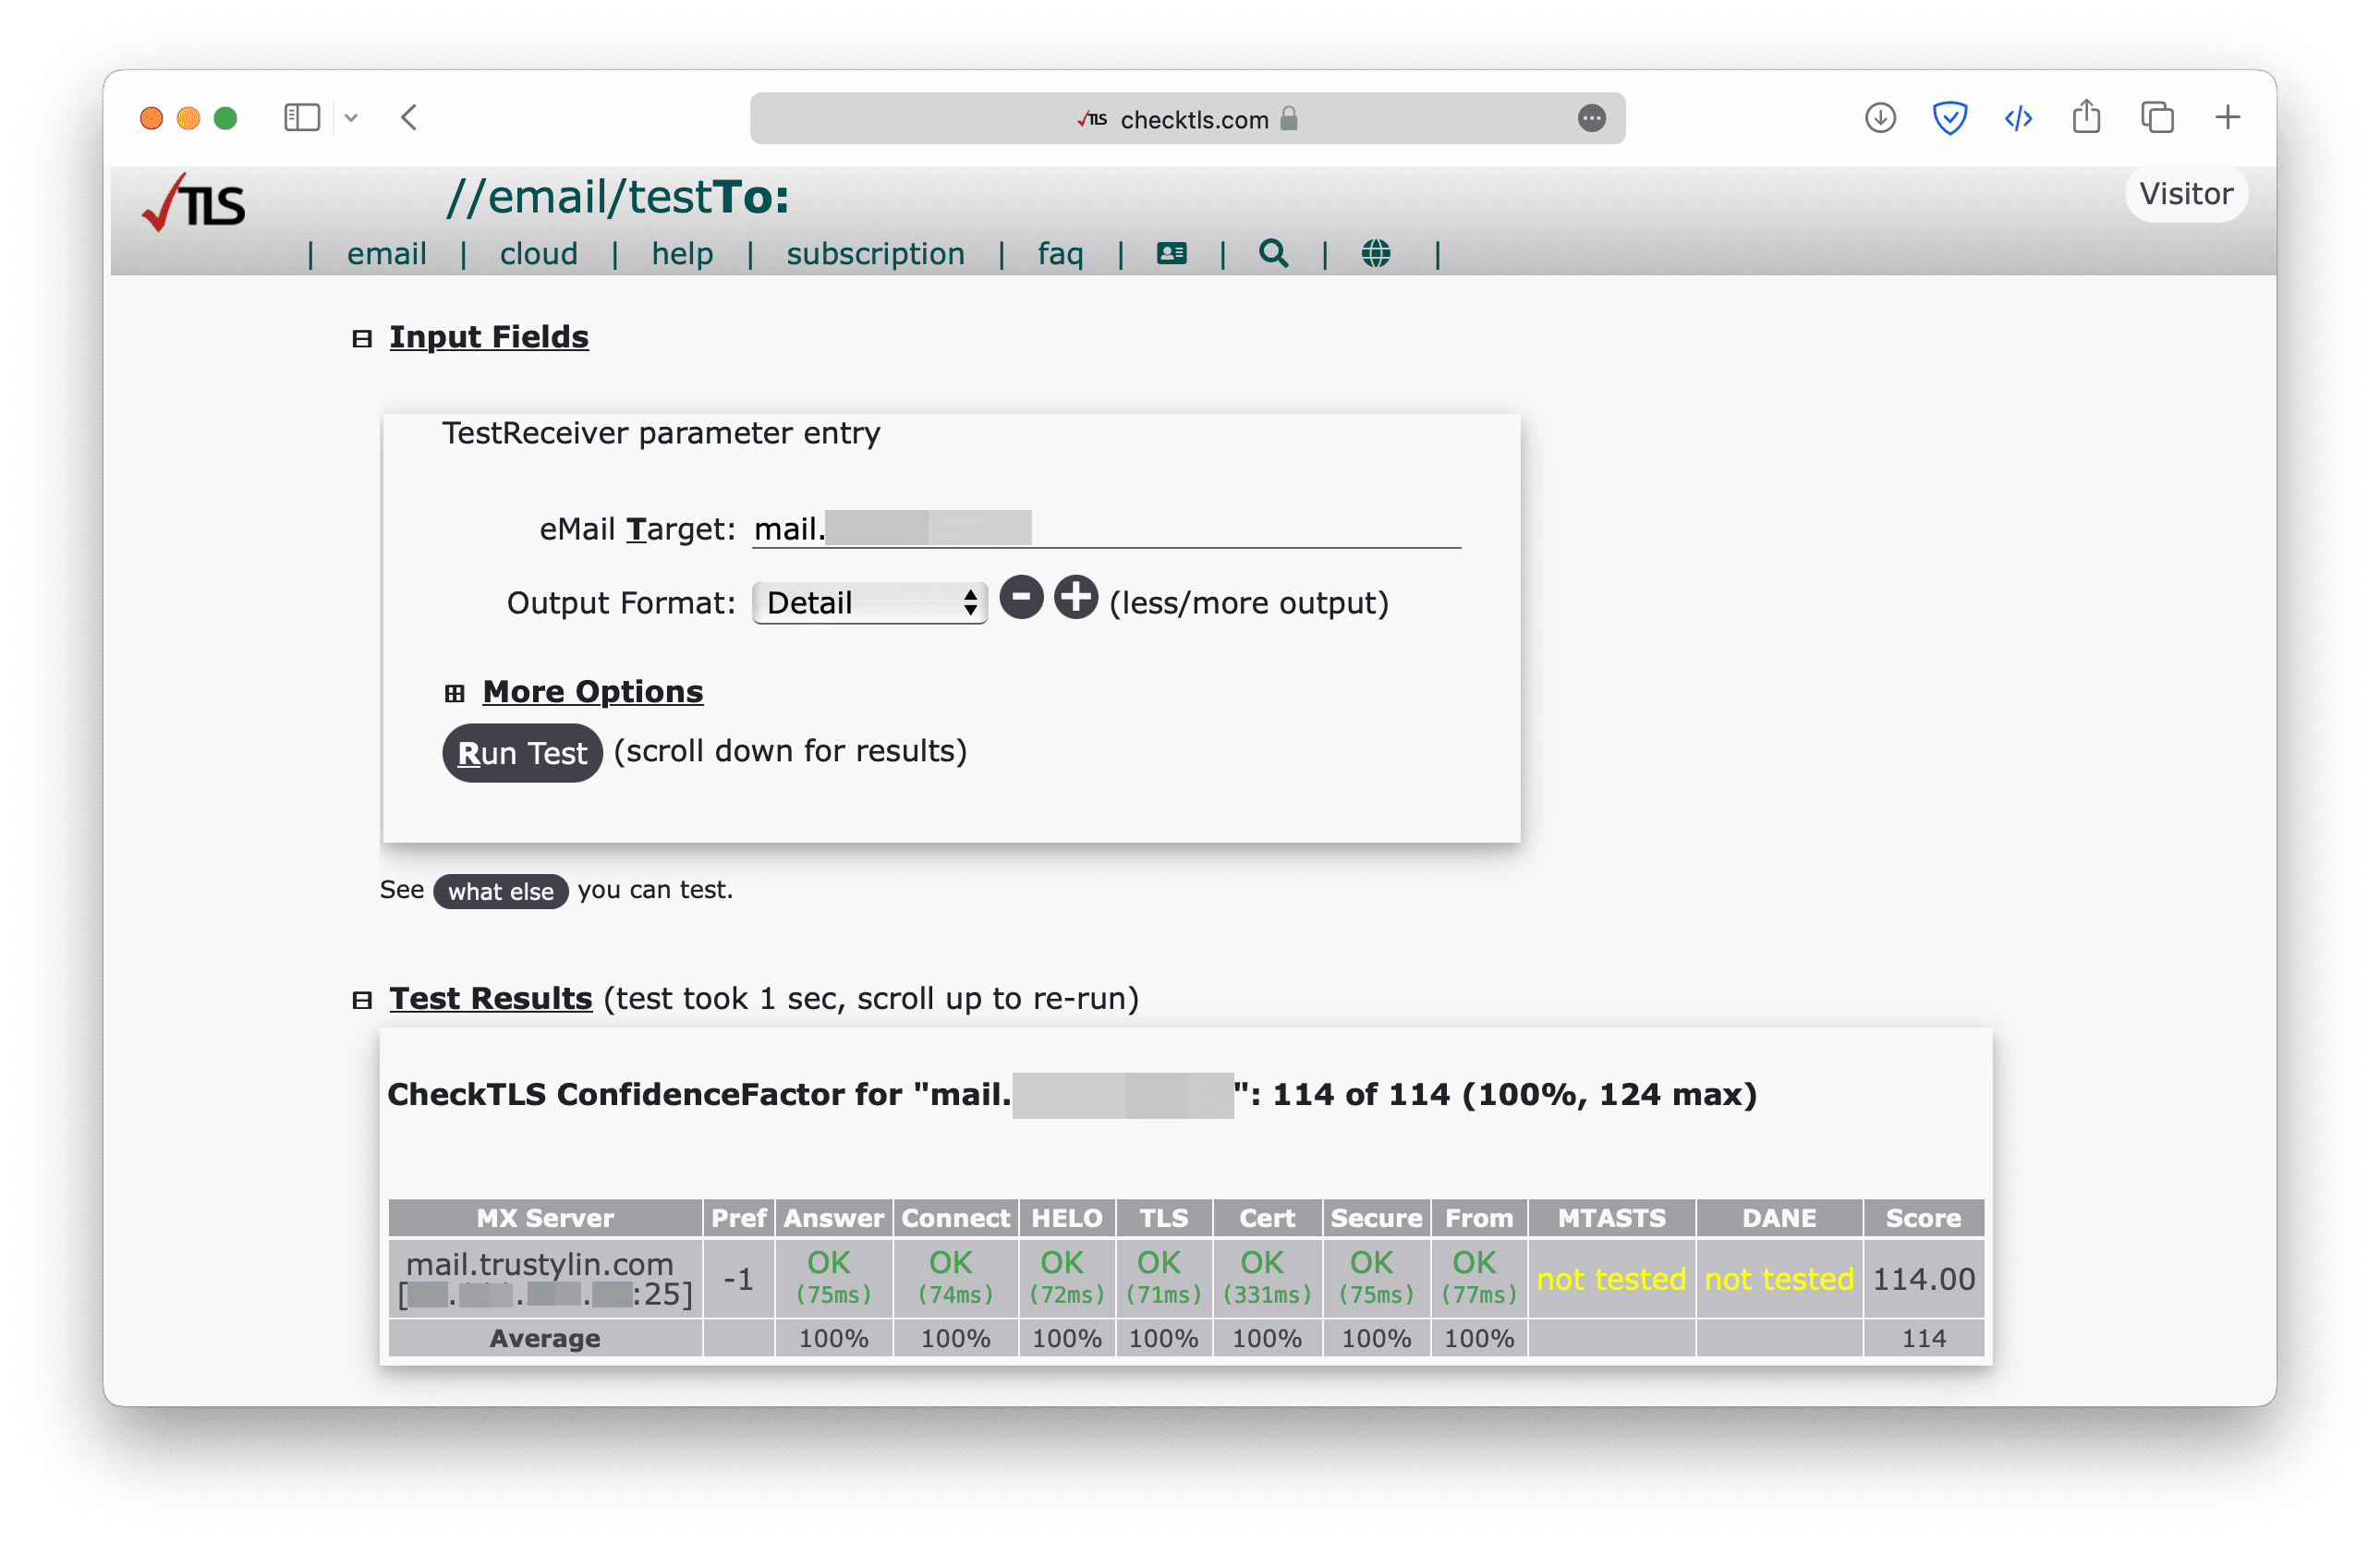
To see whether TLS is working, simply enter the email domain on checktls to check whether TLS is supported or not.
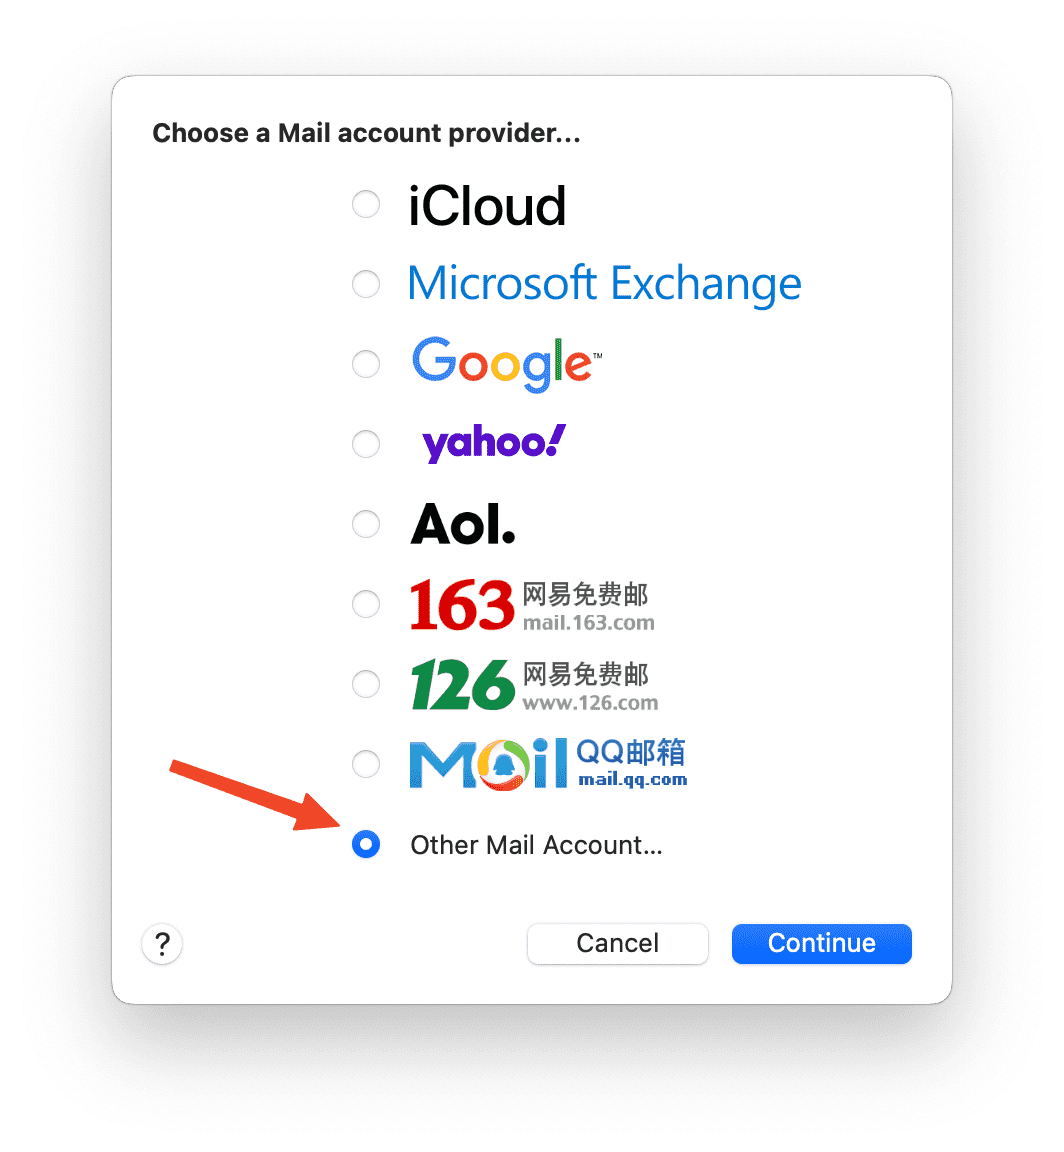
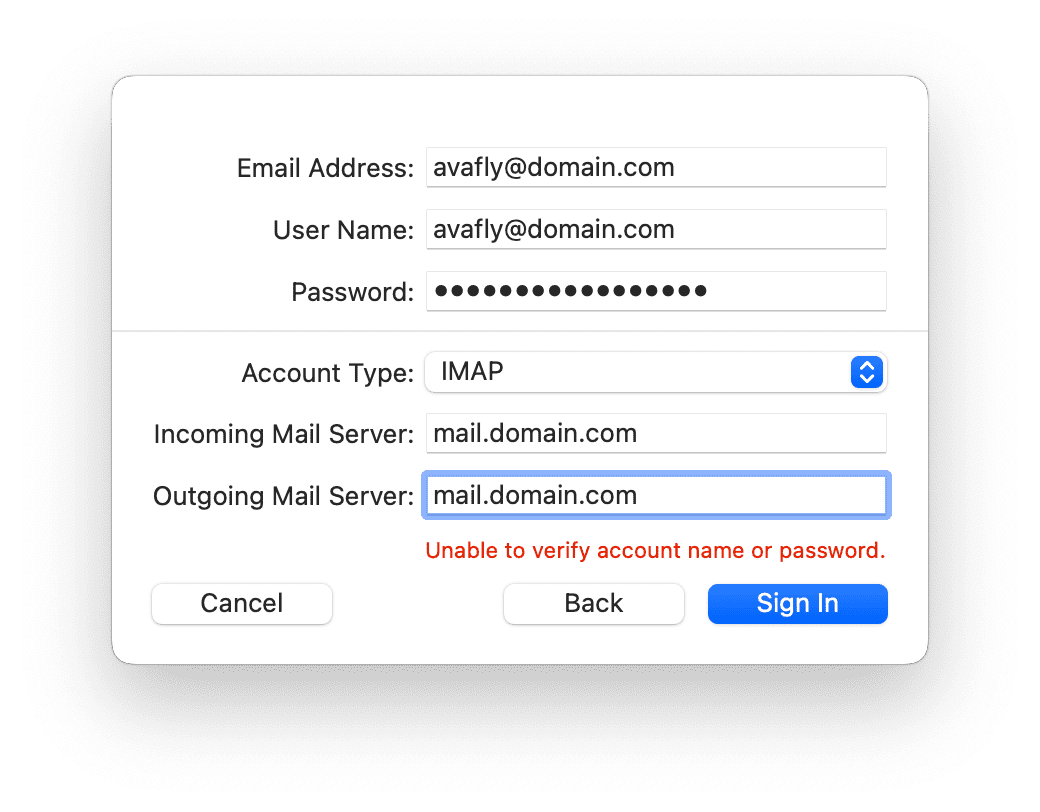
Because docker-mailserver does not have webmail, mail app is required to login the email account. Here I use Mac Mail as the example.
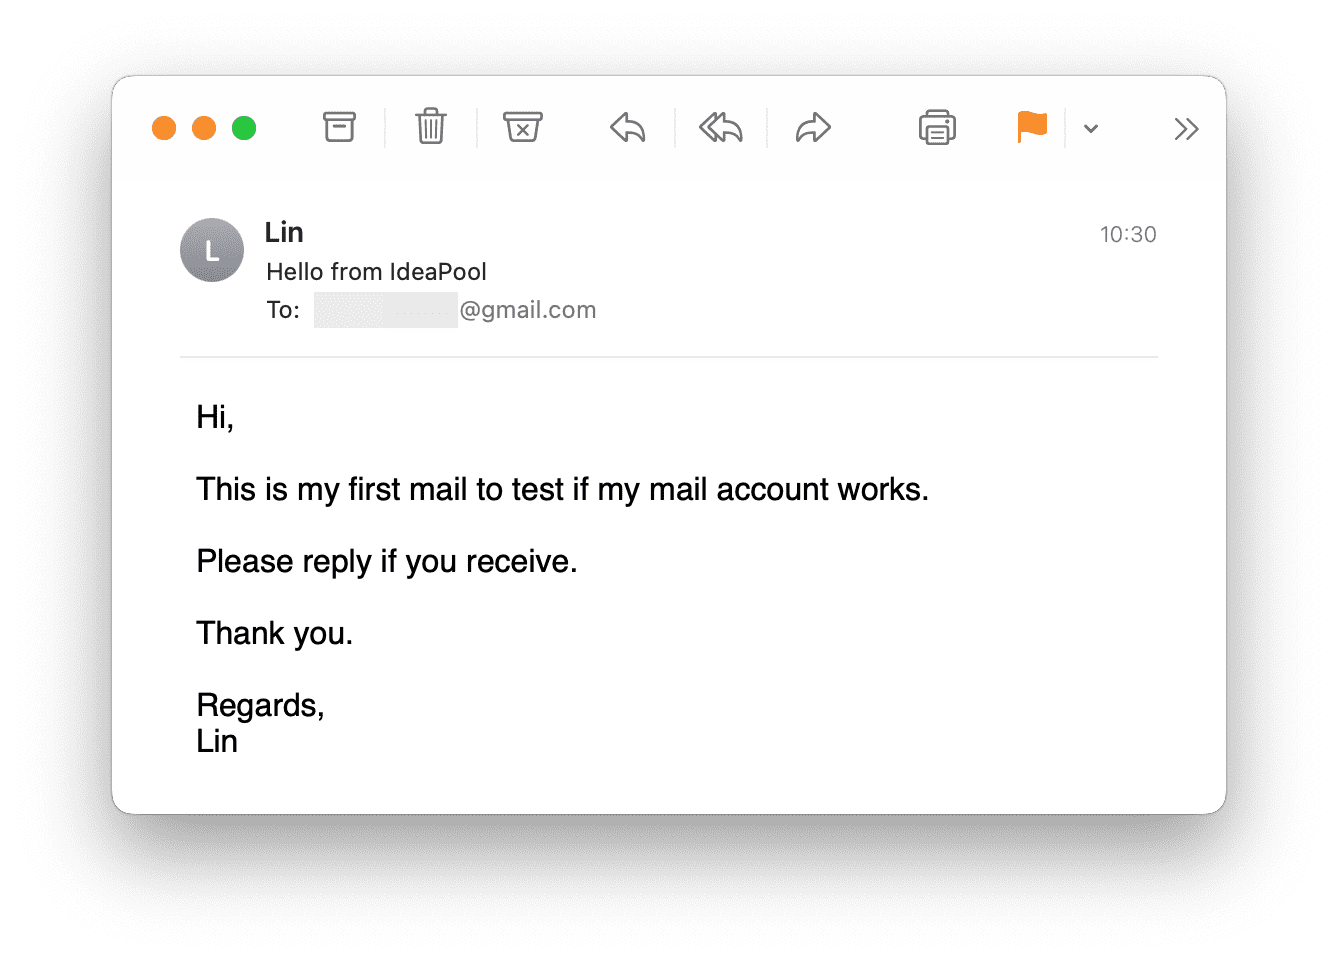
Then try to send a mail ~ 📨
Evaluate the mail
The key points of your emails cannot be sent to the target mailbox are as follows:
- SPF not set
- DKIM not set
- SSL configuration issues
- RDNS not set
- IP or domain name blacklisted
If the above issues have been addressed and there are still problems sending emails, then it may be an issue with the recipient's email service, or your email’s content is being identified as spam.
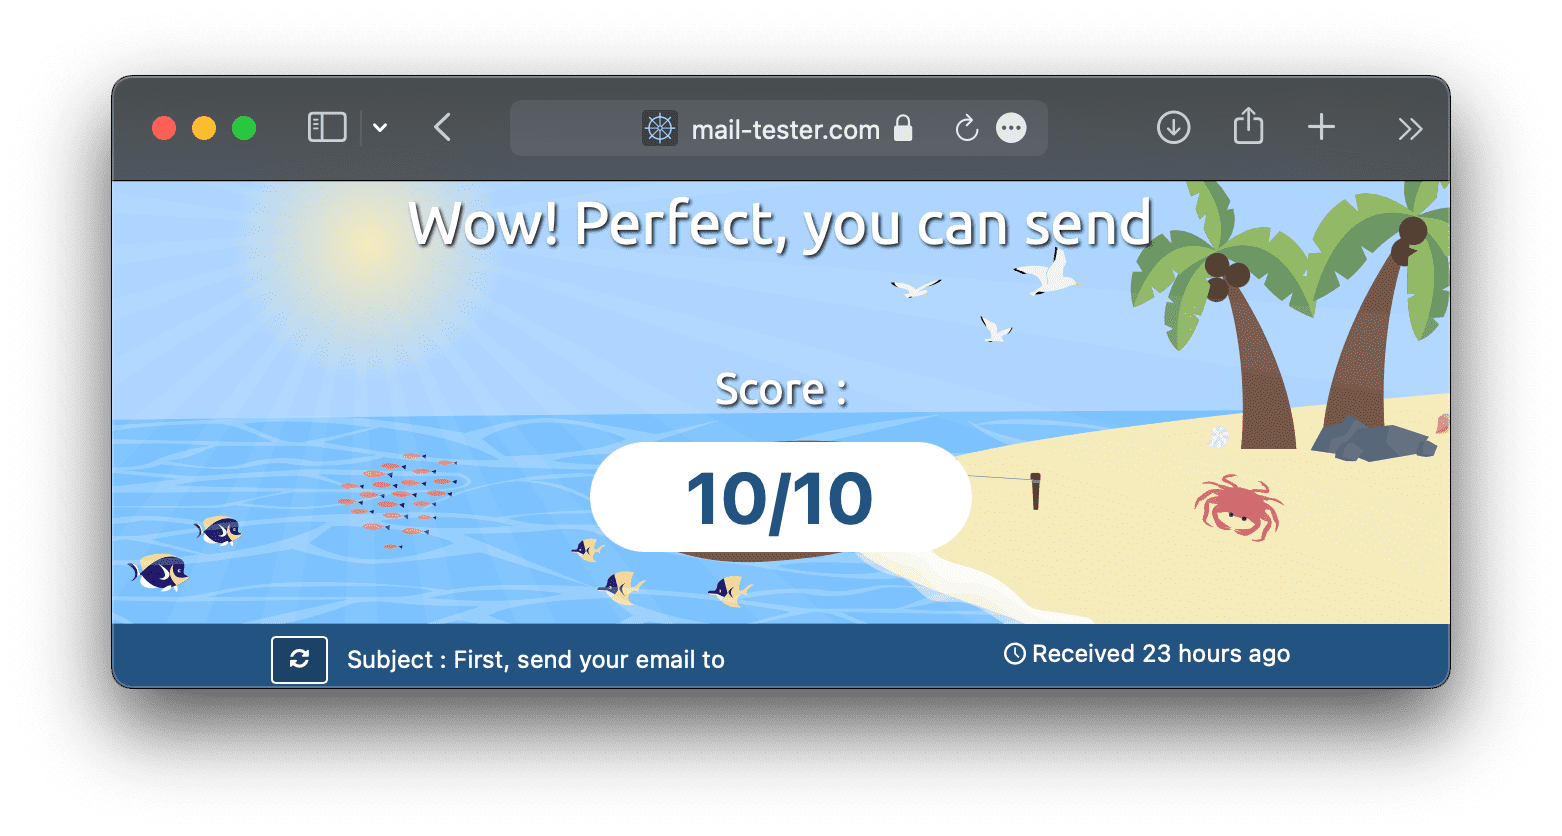
You can use mail-tester to evaluate your email service. My score is 8.9/10, because there are some problems with hosting provider: although I set RDNS to my email domain, somehow it was resolved to a strange domain. I had to contact customer service to resolve it 😅. Use nslookup to check the RDNS record.
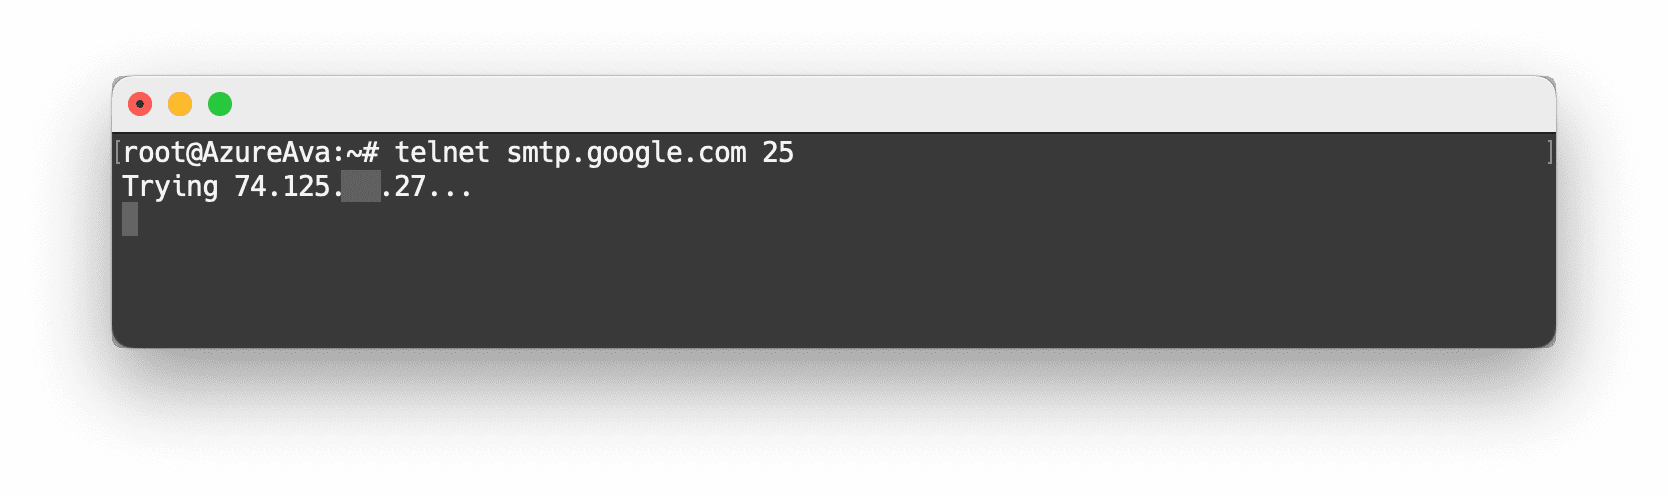
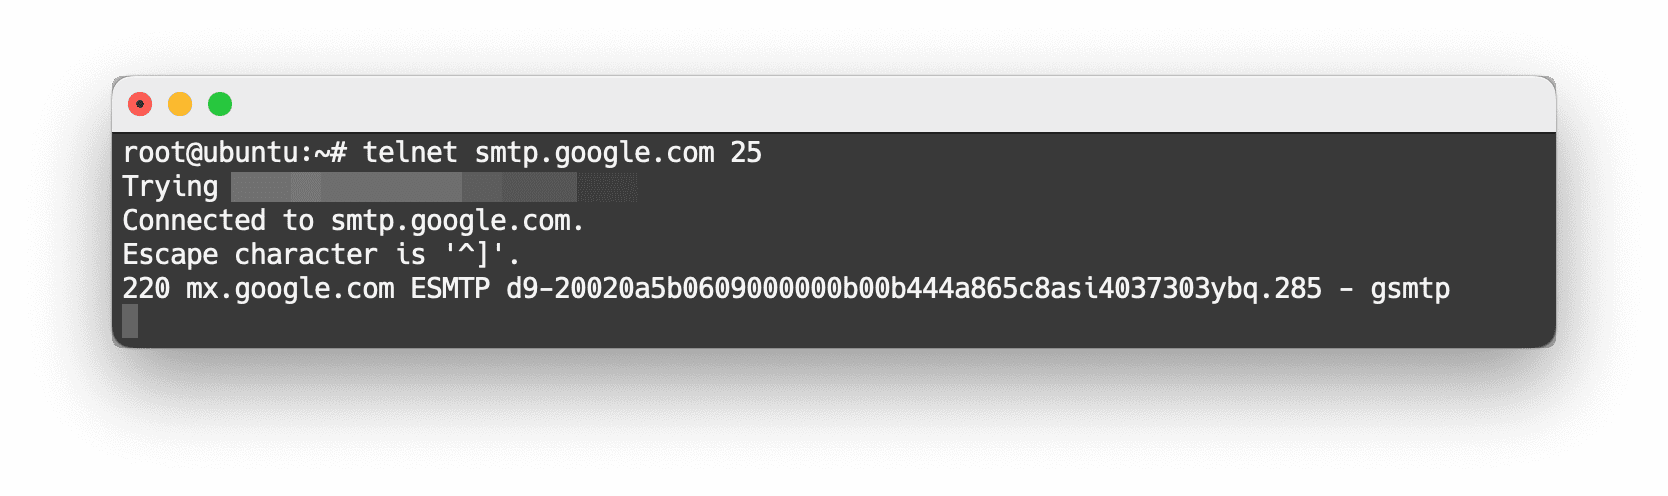
If emails cannot be sent, use docker-compose logs -f to see the log. If the issue is due to timeout, the server provider likely blocked port 25 to prevent spam. In this case, you need to contact customer service to unblock the port. The status of port 25 can be checked in the dashboard's firewall settings or by testing with telnet smtp.google.com 25. If the result is trying ip..., then the port is blocked; if three lines of output are displayed, then port 25 is open.
Update
After adding the correct RDNS record, the score became 10/10.
Reference
- [1] What are DMARC, DKIM, and SPF? - CLOUDFLARE
- [2] SPF Record Syntax - Dmarcian