Visualize web log with GoAccess
GoAccess is an open-source web log analyzer and interactive viewer that runs in a terminal or through your browser. It provides fast and valuable HTTP statistics for system administrators that require a visual server report on the fly.
Installation & Use
Several installation ways can be found on the official document, and the guide for installing goaccess from distribution can be found here. This article builds goaccess from release because certain features (e.g., geoip) are not available in the distribution version.
# install dependencies
apt install -y build-essential libncursesw5-dev libgeoip-dev libmaxminddb-dev libssl-dev

# download, extract and compile goaccess
wget https://tar.goaccess.io/goaccess-1.7.2.tar.gz
tar -xzvf goaccess-1.7.2.tar.gz
cd goaccess-1.7.2/
# enable geoip
./configure --enable-geoip=legacy --enable-utf8
make
make install

# uninstall
make uninstall
make clean
The default config file is /usr/local/etc/goaccess/goaccess.conf. Instead of editing the default configuration, I create ~/.goaccessrc and specify the config file by -p ~/.goaccessrc. Below is my configuration, it specifies the parsing method for the log file.
time-format %T
date-format %d/%b/%Y
log_format %h %^[%d:%t %^] "%r" %s %b "%R" "%u" %^
Then, use the following command to generate an HTML report based on the nginx logs.
goaccess -a -d -f /usr/share/nginx/logs/blog.log -p /root/.goaccessrc -o /var/www/report.html --max-items=500The usage of each option is as follows.
-a: Enable a global report for all statistics, including stats for bots, OS, browsers, HTTP referrals, etc.-d: Enable this option to generate a separate report grouped by date on each panel, instead of showing only an aggregated count.-f: Specify the path of the log file to analyze.-p: Specify the path of the config file from which goaccess will read settings.-o: Specify the location and format of the output report. In this example, the report will be saved in HTML format in/var/www/report.html.--max-items: Set the maximum number of items to show on each panel report.
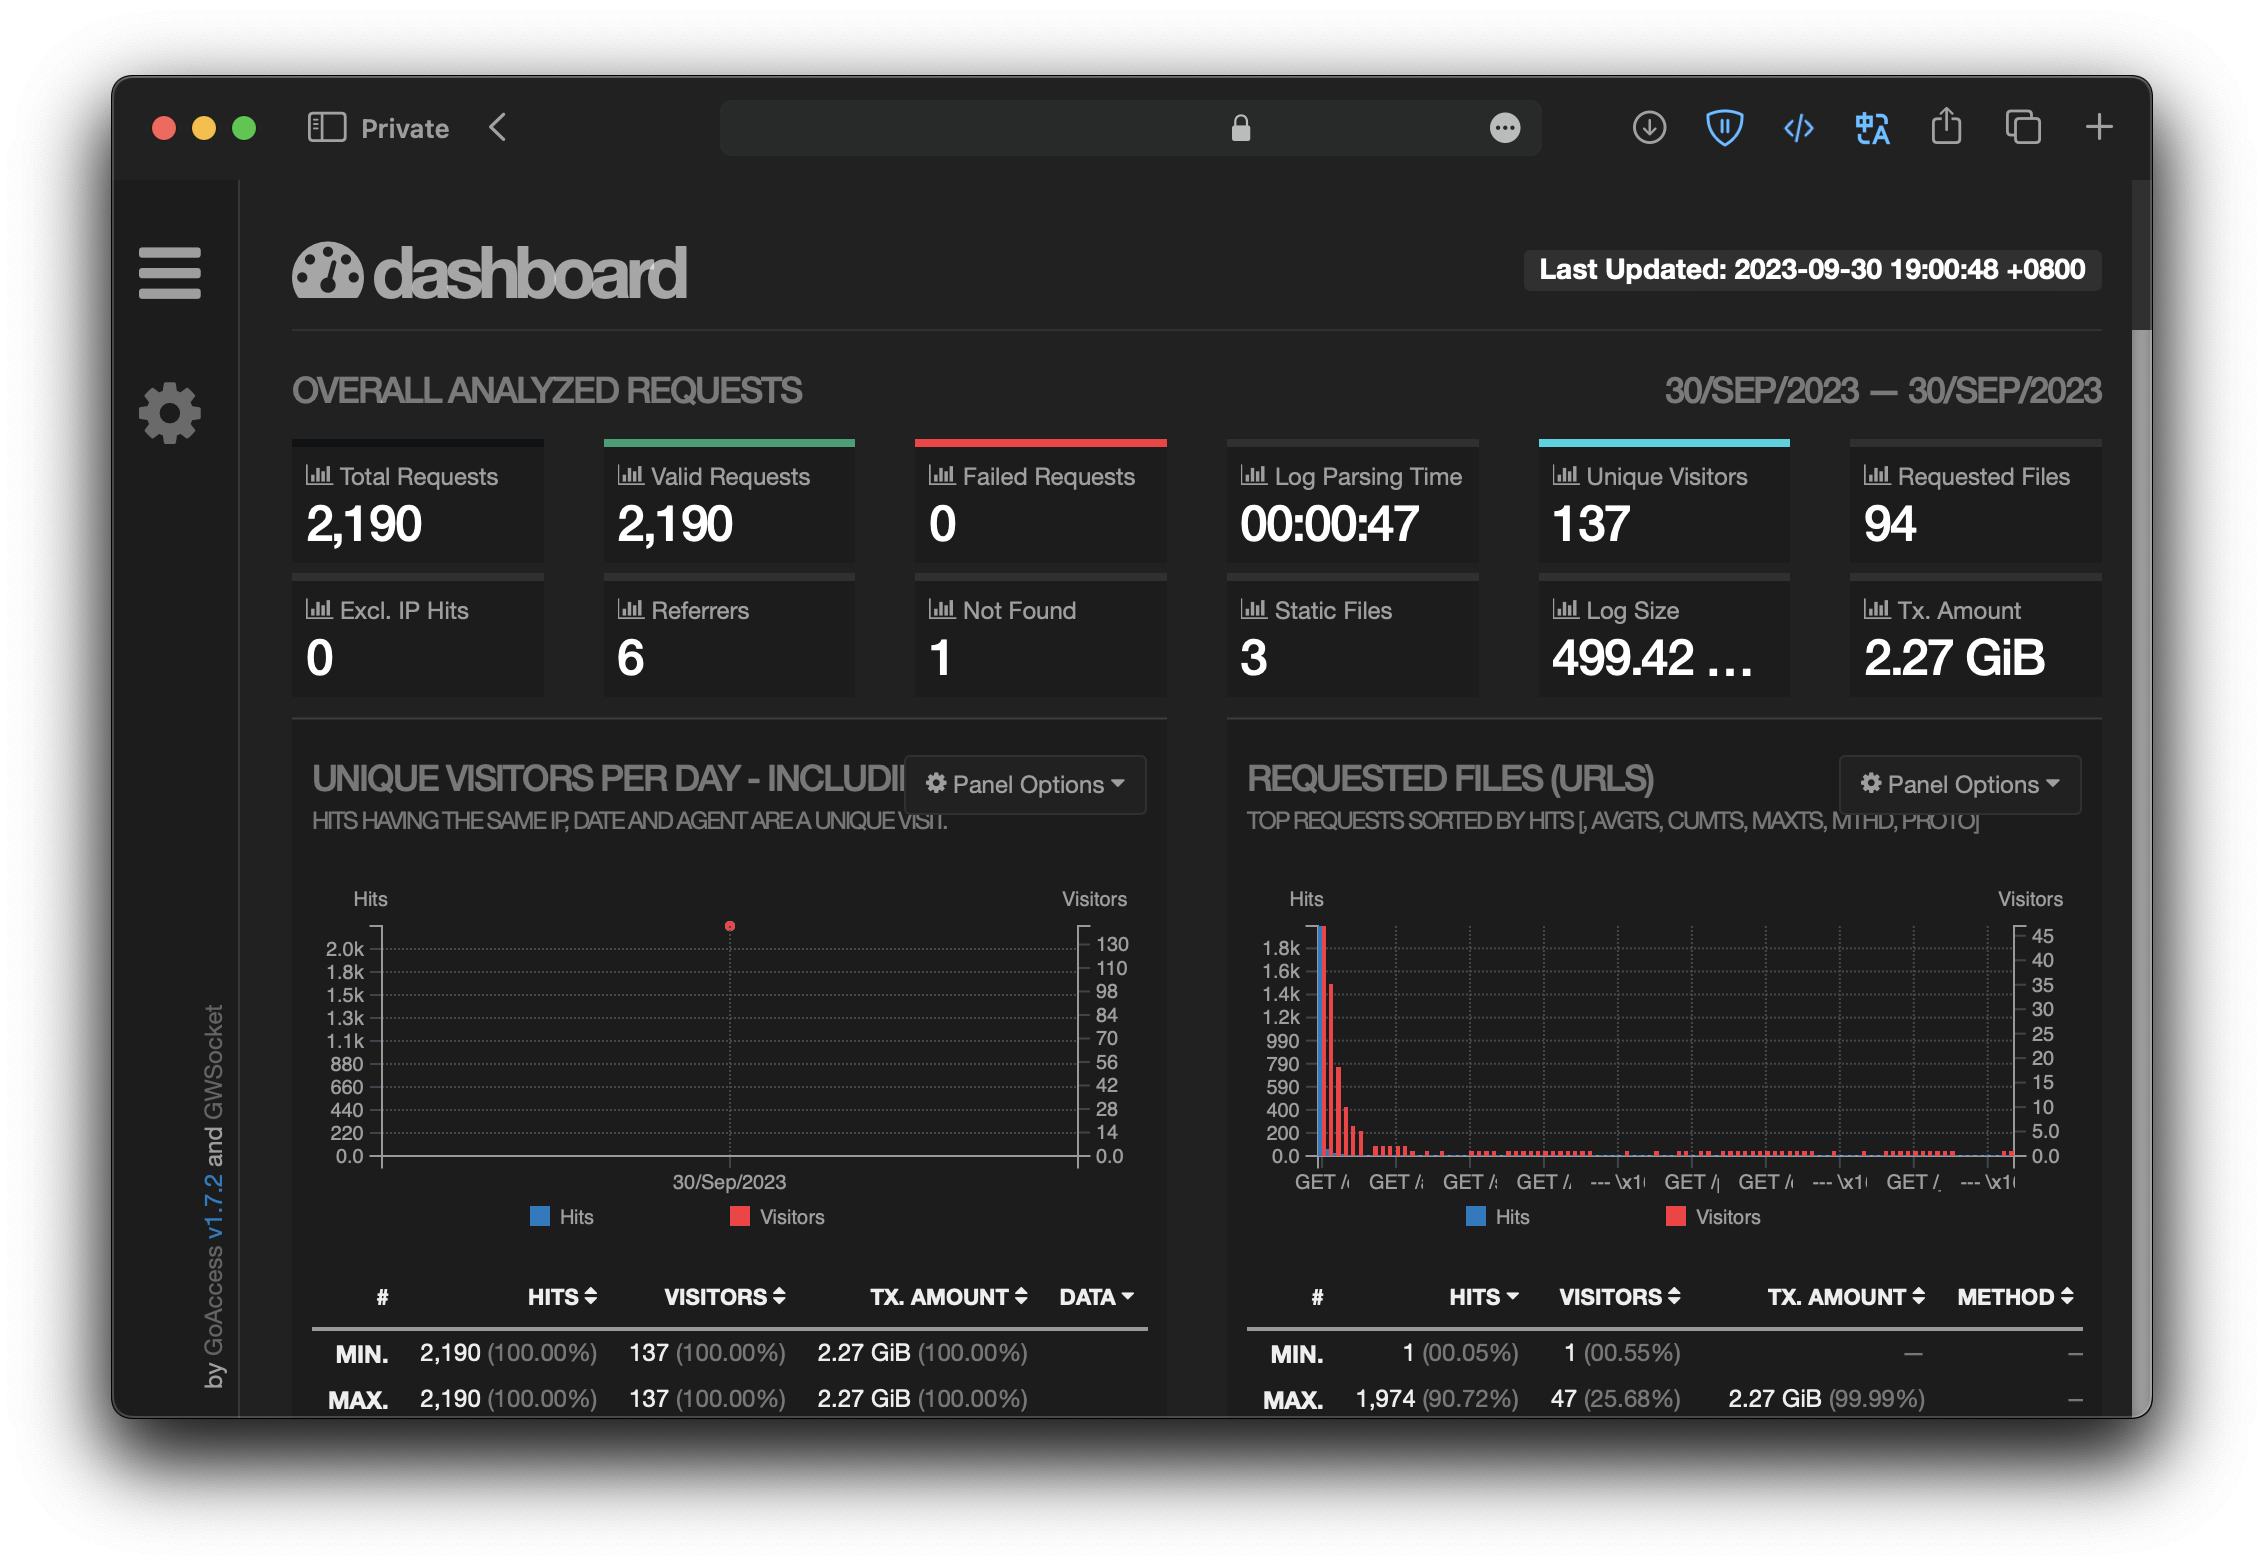
The log visualization can be viewed by accessing the HTML file, as follows.

Nginx configuration
Next, proxy this HTML file with nginx to enable access to the log analysis via the domain name. Since the logs may contain private information, open access is insecure. This article uses nginx's HTTP Basic Authentication to enable identity verification.
Install htpasswd.
apt install apache2-utilsGenerate the password file. I use "tester" as username and "123456" as password for example.
htpasswd -c /etc/nginx/.gopasswd tester

Then you get a password file, and it can be used for identity verification.
Add an nginx configuration like follows. If you don't have a domain certificate yet, see here and here.
server {
    listen      80;
    server_name goaccess.domain.com;
    return      301 https://$host$request_uri;
}

server {
    listen 443 ssl;
    server_name goaccess.domain.com;

    ssl_certificate     /PATH/server_know.crt;
    ssl_certificate_key /PATH/server_know.key;
    ssl_protocols TLSv1.1 TLSv1.2 TLSv1.3;
    ssl_ciphers         ECDHE-RSA-AES128-GCM-SHA256:HIGH:!aNULL:!MD5:!RC4:!DHE;
    ssl_prefer_server_ciphers   on;
    ssl_session_cache   shared:SSL:10m;
    ssl_session_timeout 10m;

    location / {
        root /var/www/;
        try_files /report.html =404;

        auth_basic "Restricted Content";
        auth_basic_user_file /etc/nginx/.gopasswd;
    }
}
Remember to replace the domain name and certificate path with your case.
Reload nginx to make the new configuration work.
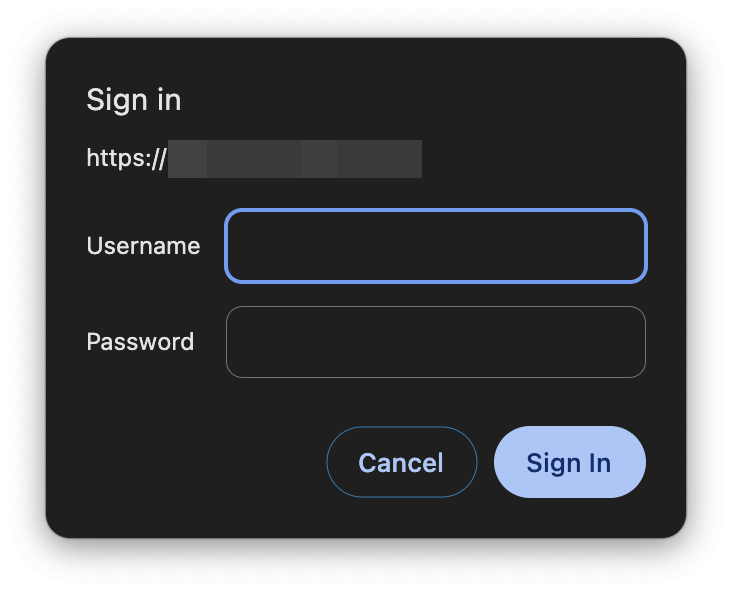
nginx -s reloadThen, access the configured domain to check if prompts for the username and password. The username and password is "tester" and "123456", respectively.

Schedule Log Analysis
To ensure that the log analysis data is up-to-date and accurate, I use cron to generate the log analysis automatically.
Below is my crontab configuration for reference, the log analysis is updated every day at 3:00 AM.
# add scheduled task
crontab -e

# update every day at 3:00 AM
0 3 * * * /usr/local/bin/goaccess -a -d -f /usr/share/nginx/logs/blog.log -p /root/.goaccessrc -o /var/www/report.html --max-items=500 > /dev/null
Demo
Here is a demo provided by the official.